
Fixing Stick Drift on Your Nintendo Switch 2: A Comprehensive Guide
So, your character's moonwalking off cliffs again? Stick drift on the Nintendo Switch 2 is a drag, but don't chuck your Joy-Cons just yet! This guide's gonna walk you through getting those sticks straight, from simple tweaks to full-on replacements.
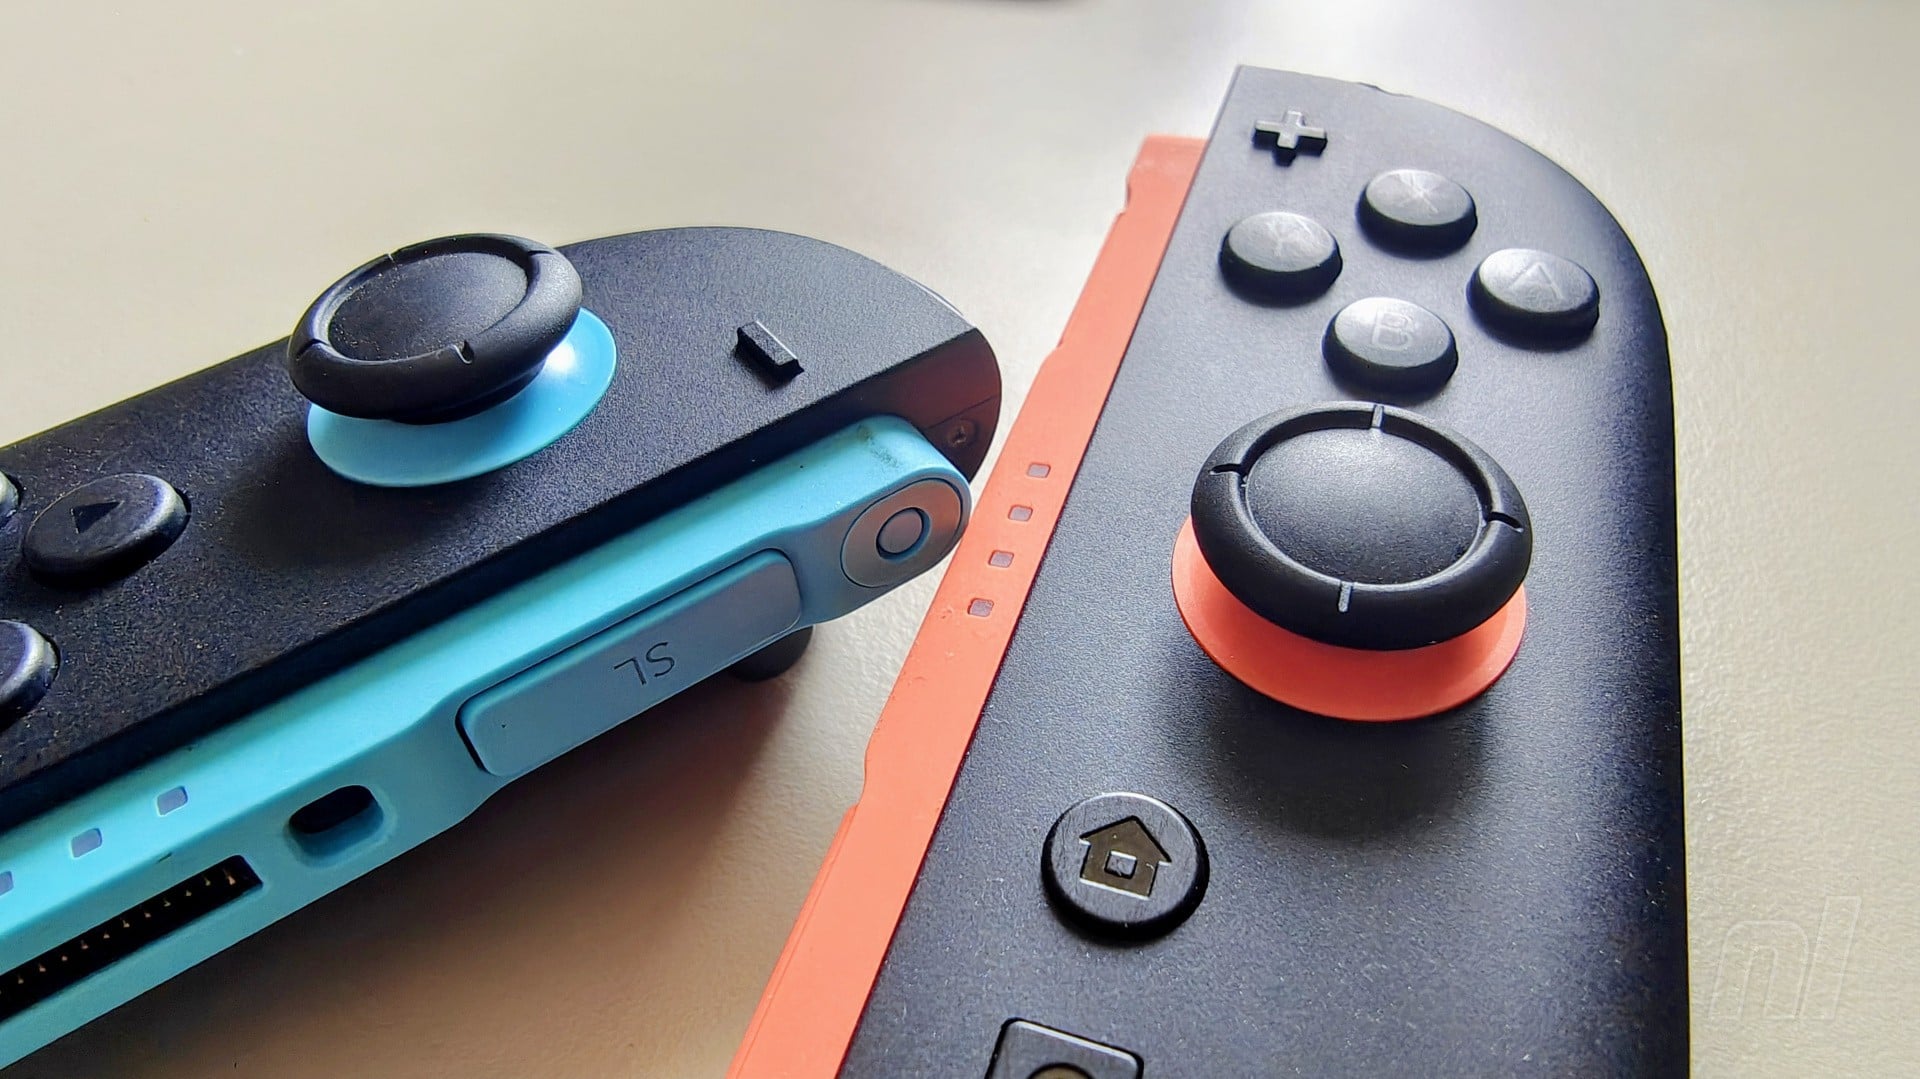
Understanding Stick Drift
What is Stick Drift?
Stick drift is that annoying glitch where your analog stick acts like it has a mind of its own. Even when you're not touching the stick, your game character might be moving, or the camera's spinning. Imagine trying to sneak through Hyrule Field, and Link suddenly decides to sprint into a Bokoblin camp—yeah, that's stick drift.
Why Does Stick Drift Happen?
Why does it happen? Well, a few gremlins are usually to blame:
- Wear and Tear: All that frantic button-mashing takes its toll. Over time, the stick's insides wear down.
- Dust and Debris: Think of your Joy-Con as a tiny vacuum cleaner. Dust and crumbs sneak in, messing with the stick's sensors. Ever wonder what's in there?
- Manufacturing Defects: Sometimes, it is just a bad stick from the get-go. It happens.
Notably, this is more common in heavily used controllers, highlighting the importance of controller maintenance for avid gamers.
Troubleshooting Stick Drift
Alright, before we get our hands dirty, let's try some quick fixes. Think of this as the "Have you tried turning it off and on again?" approach to Joy-Cons.
Recalibrate the Joy-Cons
Your Switch 2 has a built-in tool to realign those wayward sticks. It's worth a shot!
- Head to System Settings on the HOME Menu.
- Tap Controllers and Sensors.
- Select Calibrate Control Sticks.
- Follow the instructions to get that stick back in line.
Clean the Joy-Cons
Grab some compressed air and blast away any gunk lurking around the stick. A lightly-dampened cotton swab with isopropyl alcohol can also work wonders. Just be gentle!
Update the System Software
Nintendo's always tweaking things. Make sure your Switch 2 is running the latest software; it might include a fix for your stick woes.
- Go to System Settings on the HOME Menu.
- Select System.
- Choose System Update.
Replacing Your Joy-Con Sticks
Okay, so the soft touch didn't work. Time for surgery! Swapping out the stick module isn't rocket science, but it does require a steady hand and the right tools.
Tools You'll Need
- New Analog Stick Module: Gotta have the replacement part! Make sure it's for the Switch 2 Joy-Cons.
- Tri-Wing Screwdriver: This is the key to cracking open the Joy-Con. Don't even try with a regular screwdriver.
- Phillips Head Screwdriver: For the smaller screws inside.
- Spudger or Plastic Opening Tool: You'll need this to gently pry open the Joy-Con without scratching it to death.
- Anti-Static Wrist Strap: ZAP! Don't fry your electronics. Ground yourself!
Step-by-Step Replacement Guide
Do this at your own risk! You could void your warranty, so proceed with caution.
- Power Off: Make sure the Joy-Con is dead as a doornail.
- Remove Screws: Use that tri-wing screwdriver to take out the four screws on the back.
- Open the Joy-Con: Gently pry it open with the spudger. Start at the bottom and work your way around.
- Disconnect Battery: Pop off the battery connector from the board. Easy does it!
- Remove Screws Holding the Analog Stick: Phillips head time! Unscrew the ones holding the stick in place.
- Remove the Analog Stick: Lift out the old, busted stick.
- Install New Analog Stick: Pop in the new one and screw it down.
- Reconnect Battery: Reattach the battery connector.
- Reassemble the Joy-Con: Snap the case back together. Make sure everything's aligned.
- Replace Screws: Put those four screws back in the back.
- Test: Fire up the Joy-Con and make sure that new stick is behaving itself.
From a professional standpoint, taking photos at each step can be a lifesaver when reassembling the device, especially if it's your first time.
Alternative Solutions
Not feeling like a tech surgeon? No sweat! There are other ways to deal with stick drift.
- Professional Repair: Find a local shop that knows their way around a Switch.
- Nintendo Repair: Contact Nintendo and see what they can do.
- Purchase New Joy-Cons: The easiest (but priciest) option. A fresh set never hurts.
Industry analysis suggests that third-party repair services are becoming increasingly popular due to their convenience and often lower costs compared to manufacturer repairs. So, is that a route worth considering?
So, there you have it! With a little elbow grease (or a new set of Joy-Cons), you can conquer stick drift and get back to gaming. Game on!